Contents
Introduction
WeeWX is a great software for people who have a domestic weather station and are interested in meteorology. This open source program, developed in Python, is able to import weather data from many popular weather stations and to produce plots, reports and HTML pages. Moreover, it uses a easy to extend architecture, making it very simple to develop new functionalities such as importing data from third sources or creating new graphical elements.
WeeWX was the core and starting point of my domestic system. At the beginning it was connected only with a WMR88 Oregon Scientific Station. Nowadays it also imports data from my Buderus BC10/RC35 boiler and produces the web pages where the rest of the home gadgets (IP CAM, Philips HUE, RF Switchs, etc.) are managed. In this post only the more important points to install and configure weeWX in a Raspberry Pi will be exposed. In upcoming posts I will present how to extend weeWX to include these enhanced capabilities.
Before starting
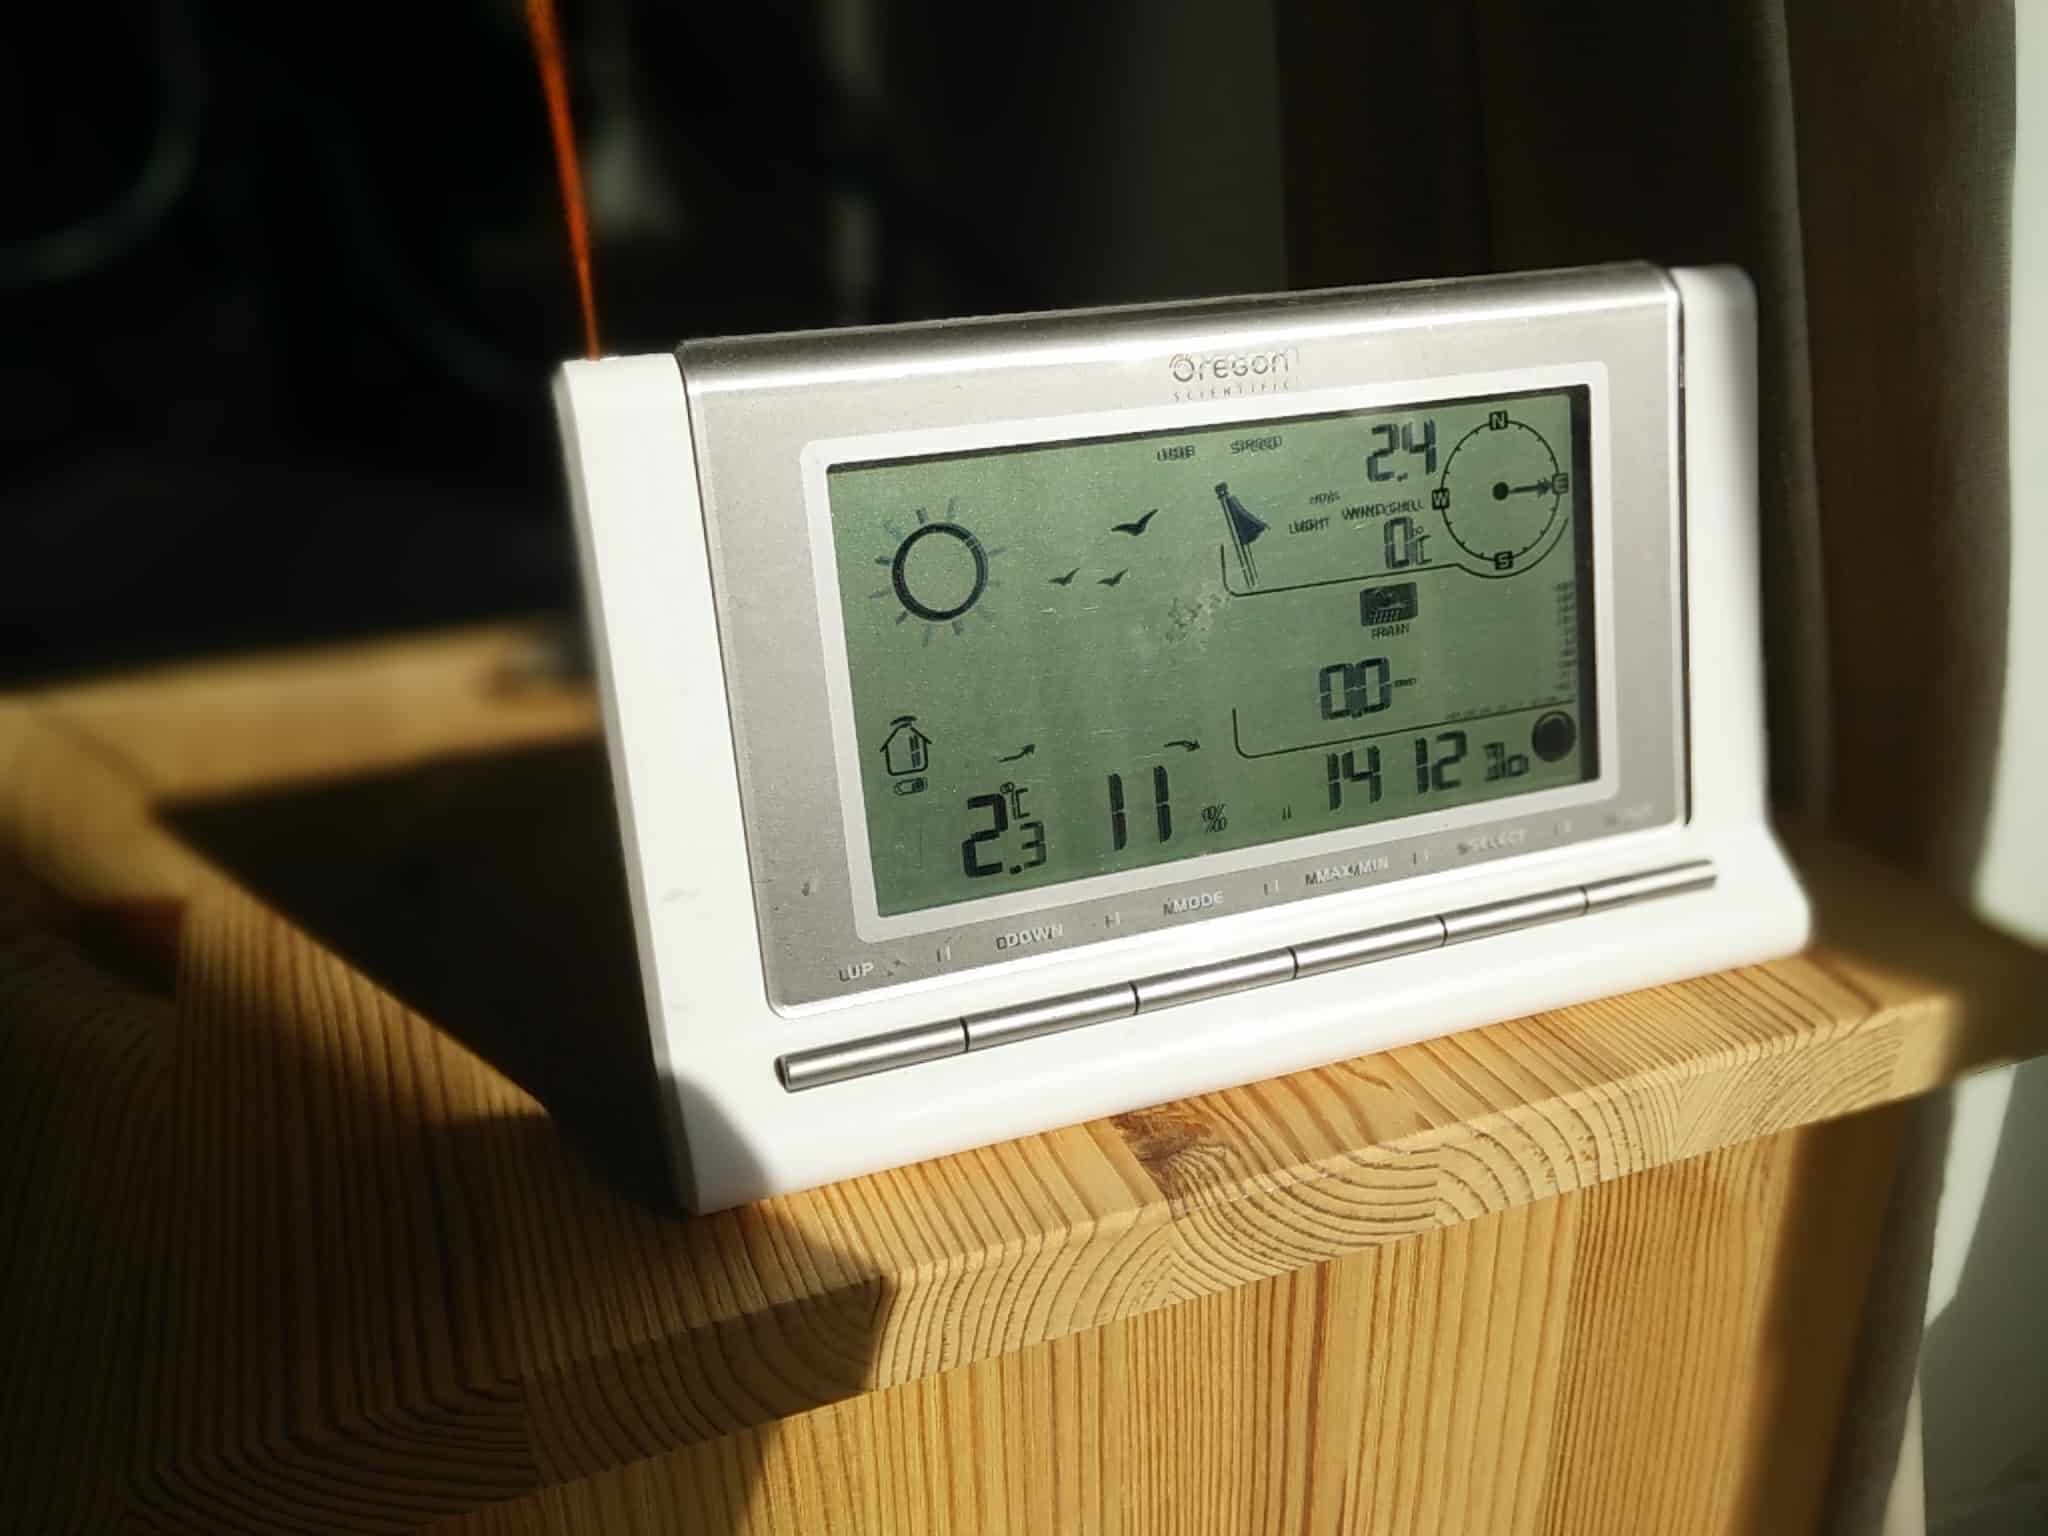
First of all check that your weather station is supported by weeWX in the following page. If it is the case, search if there are hardware notes for your specific models here. In my case, I have a WMR88 Oregon Scientific Weather Station with two remote temperature and humidity sensors (a THGR810 and a THGN800), a rain gauge PCR800 and a wind sensor WGR800. My station is compatible with the WMR-100 driver, which uses the pyusb package to import from USB the sensor information detailed here. Connect your station to your Raspberry Pi using a good quality USB cable.
As usual, before starting a new install, make a backup and update your Raspberry Pi.
Once ready, configure your apt to find the weeWX packages. To do so, just type
wget -qO - http://weewx.com/keys.html | sudo apt-key add -
wget -qO - http://weewx.com/apt/weewx.list | sudo te e /etc/apt/sources.list.d/weewx.list
Install WeeWX
To start the installation just use the apt-get utility.
sudo apt-get update
sudo apt-get install weewx
The installer will prompt you for a location name, latitude/longitude, altitude and station type (in my case WMR100). Those parameters can be modified later easily.
Once the installation has finished, weeWX will be running in the background as a daemon process. I recommend you to stop it before starting to change the configuration.
sudo service weewx stop
WeeWX Layout
Before doing any changes, it is important to understand and become familiar with the application layout. By this way you will be able to know where to search each file and option.
| Role | Symbolic Name | Nominal Location |
| WeeWX root directory | WEEWX_ROOT | / |
| Executables | BIN_ROOT | /usr/share/weewx/ |
| Configuration directory | CONFIG_ROOT | /etc/weewx/ |
| Skins and templates | SKIN_ROOT | /etc/weewx/skins/ |
| SQLite databases | SQLITE_ROOT | /var/lib/weewx/ |
| Web pages and images | HTML_ROOT | /var/www/html/weewx/ |
| PID file | /var/run/weewx.pid | |
| Log file | /var/log/syslog |
Configure weewx.conf
This file holds the whole configuration information about your WeeWX installation. If you have followed this instructions, the files will be located in the following path: /etc/weewx/weewx.conf .It contains certainly more options than needed by a standard user. Many of them can be safely ignored and left with its default value. The following list includes the options that I particularly consider important and that should be modified in every new installation. For a complete description of the options see this page.
Section [Station]
This section covers options relating to the weather station setup.
- Location: An UTF-8 string that describes the geography of where the weather station is located.
- Latitude and longitude: You can get this information easily with Google Maps as described here. Use decimal degrees, negative for southern and western hemispheres.
- Altitude: Set the altitude of the station and the unit used for the altitude (meter or foot).
- Station_type: Set the type of hardware used. It can only contain one of the valid stations supported and must have a matching section later on. In my case, my station is a
WMR100type so further configurations of my hardware will be expected in section [WMR100]. - Week_start : What day does the week start? (0=Monday, 6=Sunday)
Section [WMR100]
It covers options related to the Oregon Scientific WMR100 series of weather stations with USB connectors.
- Model: That is only a text with the model of the station. It will be included in the web pages created.
Section [StdRESTful]
- Station Registry: weeWX maintains a registry of the weather stations using the software in this page. If you want to be listed here, set the attribute
register_this_stationto true and complete the parameters location andstation_urlin [Station] section, which will be used to identify your installation. - REST Server Name: This section contains the configuration needed for uploading data to Internet sites such as Weather Underground or AWEKAS. If you don’t want to send your data, just ensure that the enable parameter of each service is set to false. Or even easier, delete these sections.
Section [StdReport]
Here you can configure the StdReport service, which controls the reports that should be generated. You may modify this section depending on your needs and the type of weather reports that you want to generate. Those are the most common attributes to be defined in this section.
SKIN_ROOT: The directory where the skins are placed.- HTML_ROOT: The target directory for the generated files.
- Data binding: The data source to be used for the reports. It should match a binding given in section [DataBindings] as shown below.
Subsection [[Report_X]]
Each report develops an skin and is represented by a sub-section, marked with double brackets, with its individual options placed inside. However, the selections done in subsections override the general values, as well as the values placed inside the skin. The most important option to be defined here is the skin.
- Skin: The skin name. It should be a directory in the
SKIN_ROOTlocation and contain a file namedskin.conf, with the options to be considered when generating the report.
Section [StdConvert]
- Target_unit: Here the unit system that will be used in weeWX database is configured. Valid values are
US,METRICWXandMETRICand the differences between them are shown in this page. The system will automatically convert from the unit system coming from the weather station to the target output unit system here defined. This value MUST NOT be modified or you will corrupt the data contained in your database. This option is independent from the reporting unit; weeWX will do the conversion when required.
Section [StdCalibrate]
In this section you can adjust the observations received from your station using calculations. For instance, if you positively know, due to comparatives with METAR reports, that your pressure indicator has a positive or negative deviation, here you can set for each data type a calibration expression.
Section [StdQC]
Here you can define quality control checks to avoid importing unreal observations values by defining a minimal and a maximal acceptable value. This is an example of configuration for Metric units.
[StdQC]
[[MinMax]]
      barometer = 700, 1200
      outTemp = -40, 70
      inTemp = 0, 50
      extraTemp1 =0, 50
      outHumidity = 0, 100
      inHumidity = 0, 100
      extraHumid1 = 0, 100
      windSpeed = 0, 120
      pressure = 700, 1200
Section [StdWXCalculate]
This section controls the origin of derived values. Some hardware provides derived quantities, others provide only raw observations. The calculation service provides derived quantities for hardware that does not provide them, and known algorithms for hardware that provides unreliable or out-of-date calculations. These options will be automatically configured depending on the driver used, so you should not worry about them.
Section [StdArchive]
This section is for configuring StdArchive, the service that stores data in a database. It can be useful for certain stations with data logging. I did not modify any option in the file.
Section [DataBindings]
Here the data binding are listed, which associates storage characteristics with a specific database. For each binding is specified:
- Database: The database to be used — it should match one of the sections in [Databases].
- Table name: Should be archive.
- Manager: The name of the class to be used to manage the table. Default is class weewx.wxmanager.WXDaySummaryManager.
- Schema: A Python list holding the structure of the schema to be used to initialise the database. After initialization this file is not used anymore. In this post I will expose how to define an schema for a new database.
Section [Databases]
In this section the databases used by weeWX are listed in double brackets. Each one contains the parameters needed to create and manage the database. In my case, I have been using SQLite for more than 2 years in my Raspberry Pi without a problem. MySQL is of course more powerful, but SQLite is fast, efficient and enough for my requirements.
- Database type: The type of database, in my case
SQLite. It should correspond to a subsection in DatabaseTypes section. - Database name:
SQLiteis a file-based database, in this option the path to theSQLitefile relative to the SQLITE_ROOT is given.
Section [DatabaseTypes]
This section defines defaults for the various kinds of databases. For SQLite it should be specified:
- Driver: Do not modify this, by default is weedb.sqlite.
- SQLITE_ROOT: This is the directory where the database files are located. This file will be intensively written, so you should consider to move it outside your SD Card to minimize the writes as exposed in this post.
Section [Engine]
WeeWX consists of many services, each responsible for some aspect of the program’s functionality. When an event happens, any interested service gets a chance to do some useful work on the event. This section is used to configure the internal services to be run. As it can be seen, they are grouped by type and the order is very important, since each once uses the most updated data. In my case, I deleted the restful services foreseeing that I was not going to use them. If you develop a new service in weeWX, or install a new skin, you will probably have to add it in this section as explained here.
Install and configure a Skin
Although the Standard skin of weeWX is fully functional, its interface has a lot of room for improvement. After doing some research and looking at the available skins, I decided to use Bootstrap, a fantastic front end that creates gauge representations of the current weather, as well as colourful monthly history summaries. To use it just download the last release from its Github web page and install it using the wee_extension tool:
wget https://github.com/brewster76/fuzzy-archer/archive/v2.24.tar.gz
sudo wee_extension --install=v2.24.tar.gz
Once installed, you should see a new folder in you SKIN_ROOT with the name Bootstrap containing the following files:
- A
skin.conffile which contains all the options used to create the report. The sections of the file vary depending on the generators that will run to process the skin. - A number of templates with extension
*.html.tmpl. Template generation is done using the Cheetah templating engine, a very powerful engine which essentially lets you have the full semantics of Python available inHTMLpages. For this reason templates combines bothHTMLwith python code. A full reference to how to customise a report can be found in this site. - A CSS folder containing specific stylesheets to be applied to the web pages generated. In this skin the folder contains the bootstrap CSS.
- A Javascript folder with the scripts used.
- A NOAA folder containing templates to generate montly and yearly NOAA weather reports.
Note that the installation of Bootstrap will also update the skin.conffile of the Images skin to generate new periodic graphics, as well as the one corresponding to the languages skin.
Skin.conf
Once installed the Bootstrap skin, you should open the skin.conffile and customise it to your needs. The file is usually commented to guide you trough its configuration, however the sections that you should consider are:
- [CheetahGenerator]: Here all the template files that should be processed by the Cheetah Generator should be listed.
- [GaugeGenerator]: You should decide for which observation type you want to generate a gauge, as well as which format should the gauges have. For each gauge, a subsection with the name of the observation type in double brackets should be created. The gauge options can be defined in the section or be overwritten in the subsection. The gauge generator will create as many gauges as subsections are defined, named following this structure:
observation_type+Gauge.png. - [HistoryReport]: As seen in the previous section, the history generator will generate a colourful
HTMLtable for each observation specified in a subsection with double bracket. Moreover, one should specify what aggregation operation should be performed over the observation (average, minimum, maximum, etc.). To include theHTMLcode of table, just include the tag in a template, following this structure:subsection_name+_table. - [ImageGenerator]: This section will generate the graphical representations using python libraries. There is a full description of all the functions available in this section in the following web.
Configure log files
By default the weeWX logs will be included in syslog. To make it easier to monitor weeWX it would be better to log its messages in a separate file. On the other hand, log files can grow until they reach very big sizes. Moreover, if you followed my the recommendations posted here, your log files will be saved in RAM space, this being critical to keep its size contained. To solve this two issues you must modify two parts of the system, the logging (rsyslog) and the log rotation (logrotate).
Rsyslog configuration
WeeWX default installation already includes a rsyslog file that filters by program name and can be used directly. Just modify, if you want, the log destination path of the file as shown here:
vi /etc/weewx/rsyslog.d/weewx.conf

:programname,isequal,"weewx" /var/log/weewx/weewx.log :programname,isequal,"weewx" ~
:programname,startswith,"wee_" /var/log/weewx/weewx.log :programname,startswith,"wee_" ~
The first line redirect the logs generated by programs named “weewx” or whose name starts with “wee_” to the stated log file. The second line prevent the log from applying further filters. To know more about rsyslog check this wiki.
To activate this configuration just create a soft link between the configuration file and the configuration directory of rsyslog. Be aware of the file permissions (644), it can cause problems when being imported. After that, restart the rsyslog service.
sudo ln -s /etc/weewx/rsyslog.d/weewx.conf /etc/rsyslog.d

service rsyslog restart
Logrotate configuration
WeeWX also includes a defaultlogrotate configuration file. One more time, you should only have to do some little changes to adapt it to your Raspberry.
vi /etc/weewx/logrotate.d/weewx

/var/log/weewx/weewx.log
{
     rotate 52
     weekly
     missingok
     notifempty
     compress
     delaycompress
     sharedscripts
     postrotate
     invoke-rc.d rsyslog rotate > /dev/null
     endscript
}
First of all update the path to the log of the first line. Then decide if you want to rotate it in a daily or weekly basis. More information about available configurations can be found in the man page.
Activate the configuration by creating a soft link. Be aware of the file permissions (0644).
sudo ln -s /etc/weewx/logrotate.d/weewx /etc/logrotate.d
Integrate with a web server
Once your weeWX is configured, it is time to integrate it with a web server to make the reports available all over internet. I have used Apache because it makes easier the integration with php functionalities, although it uses a lot more memory. If you plan just to do a very little home server, then use a lightweight one, such as lighttpd, or nginx.
Start installing apache2 by doing:
sudo apt-get install apache2
If the HTML_ROOT defined is in the Apache DocumentRoot directory (/var/www/HTML ) no further configuration will be needed. Your web page will be already available. Otherwise you should define a new alias in the Apache alias_module with the following code:
sudo vi /etc/apache2/mods-available/alias.conf

...
Alias /weewx /home/weewx/public_html
<Directory "/home/weewx/public_html">
    Options FollowSymlinks
    AllowOverride None

...
The alias /weewx points to the path where the HTML reports are generated.
Finally restart Apache to make the changes happen. Don’t forget to restart the weeWX daemon.
sudo service apache2 restart

sudo service weewx start
After some minutes (the reports are generated at a 5 minutes rate) your web page should be ready. Check it from a navigator in your local network. If you want to make your weeWX server accessible from internet, you should follow this steps. Forward the port 80 instead of the defined for SSH.

Making your web server available in internet is a security risk. Read this post to increase your Raspberry security and this other to configure your Apache server in a safer way with password-protected zones and forced SSL usage.
Some pieces of advice and Troubleshooting
Reports are not generated
If you experiment problems with weeWX , you should activate the debugging options in the weewx.conf file and have a look at the logs generated. It is probable that someone has experienced the same problem already… just google it! There is a very active google support group here.
Take care of your SD Card
WeeWX writes to disk for the following:
- Report Generation: Images and
HTMLfiles are generated every archive interval. In my case, with the amount of images generated, that supposed almost 1 GB per day. - Messages in system log files: at least once per archive interval.
- Meteorological data are saved to
SQLitedatabase: at least once per archive interval.
As I already discussed, the SD Cards have a limited live. To increase the lifespan of the SD card by minimizing the number of read/write cycles do the following:
- Save reports in a temporary file system.
- Move log files to a temporary file system.
- Place the
SQLitedatabase files away from the SD Card.
Make backups
Loosing the database file with all the weather information of the last 2 years is a very unfortunate situation. To avoid this from happening do frequent backups of your data. To backup a Weewx installation, you will need to make a copy of:
- configuration information.
- skins and templates.
- any custom code or extensions you have installed.
- the databases.
You don’t need the generated HTML pages and images: those will be recreated by weeWX. In this post I explained how to develop an script to backup files and databases in a Raspberry. Just an advice, do not make the copy of the SQLite database while in the middle of a transaction. Schedule the backup for immediately after an archive record is written, and then make sure the backup completes before the next archive record arrives. In my case, a whole report generation takes 90 seconds and the backup script takes less than 70 seconds to run, so I programmed the backup script to run everyday at 5:07. Alternatively, you can also stop weeWX, perform the backup, and then restart it again.
Time problems
The Rasperry does not have an on-board battery powered clock. Instead, by default, the software is configured with a fake clock (Debian package fake-hwclock). The fake clock regularly records the time on the hard disk. This time is then used to set the clock during the reboot after a power failure. Unfortunately, this time could be hours behind the real time, depending on how long the power was out. To solve this issue, the NTP damon keeps the system date with exact match to actual date. But to update the time, NTP needs a working internet connection. And after a power failure this re connection can take a while.
Meanwhile, if you are running weeWX, it will also start up and try to run with this out-of-date time. When the next archive is received and saved in the database, it will either be stored under a too-old timestamp, or there may already be a record for that timestamp (duplicate primary key), left over from before the power outage.
Eventually your router will get connected and NTP will start up, find an authoritative time source and set the time correctly. However, this whole process could take several minutes. By then, the damage will already be done. To solve this issue, install a hardware clock in your Raspberry Pi. They are inexpensive (7 €) and will solve the problem permanently. Read this post to learn how to install and configure it.
WeeWX commands
Here are listed some useful Weewx commands:
- Reload weeWX configuration file without stopping the service: get the pid of the weeWX daemon and send the signal -HUP to restart it.
ps axg | grep weewx

696 ? Sl 21:45 python /usr/bin/weewxd --daemon --pidfile=/var/run/weewx.pid /etc/weewx/weewx.conf

kill -HUP 696
- In order to restart the weeWX service you can either stop+ and start it or directly perform a restart:
sudo service weewx stop
sudo service weewx start

sudo service weewx restart
- To generate reports on demand use the command
wee_reports. Available options can be found here. - After cleaning bad data in the database, you should rebuild the daily summaries. This operation will take a few minutes, depending on the size of the database. To do so just type:
wee_database weewx.conf --drop-daily
wee_database weewx.conf --rebuild-daily
- Finally to see current weeWX status type:
sudo service weewx status
Do you have any ideas about using lighttpd with weewx. I cannot find any details how to get the lighttpd webserver to show weewx reports.